All Blogs
How to Use E-junkie: With WIX

When you first start your WIX site, you will be asked if you want to use WIX ADI or WIX Editor. For the purposes of this blog we are going to be explaining how to setup our buttons on a WIX page using Editor as it allows for HTML.
If you have not used WIX, the first things you will need to do is sign-up, choose the style of website you want, then select WIX Editor and finally pick your template. (I went with the basic Coming Soon option in the Business section)
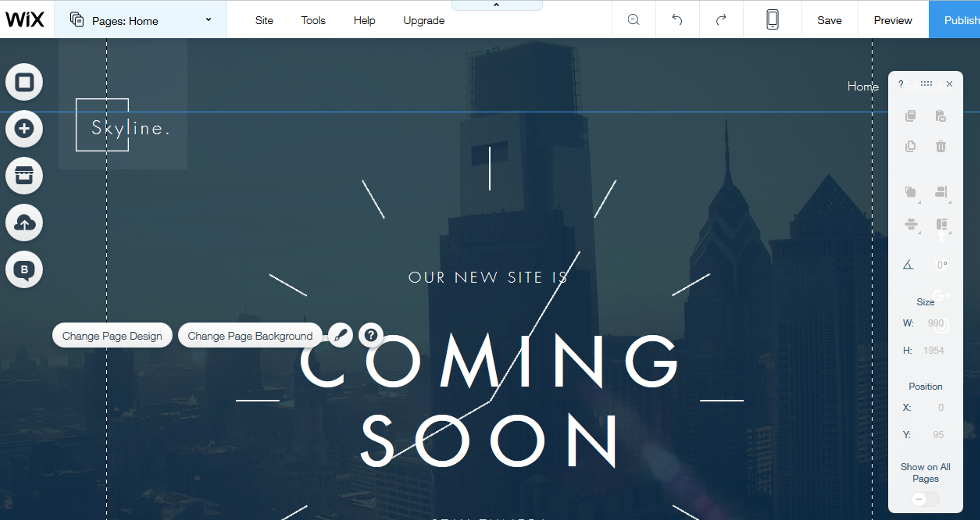
Next you will want to click the Add (+) button on the left side of the page. Go down to the More option and choose the HTML & Flash option.

This will give you a small field at the top center, but you can move the field anywhere you want on the page, allowing you to place the E-junkie buttons wherever you want on the page. Since the template I selected is kind of busy at the top (most of them seem to be), I moved the field down to the middle of the page so it can be seen a bit easier.

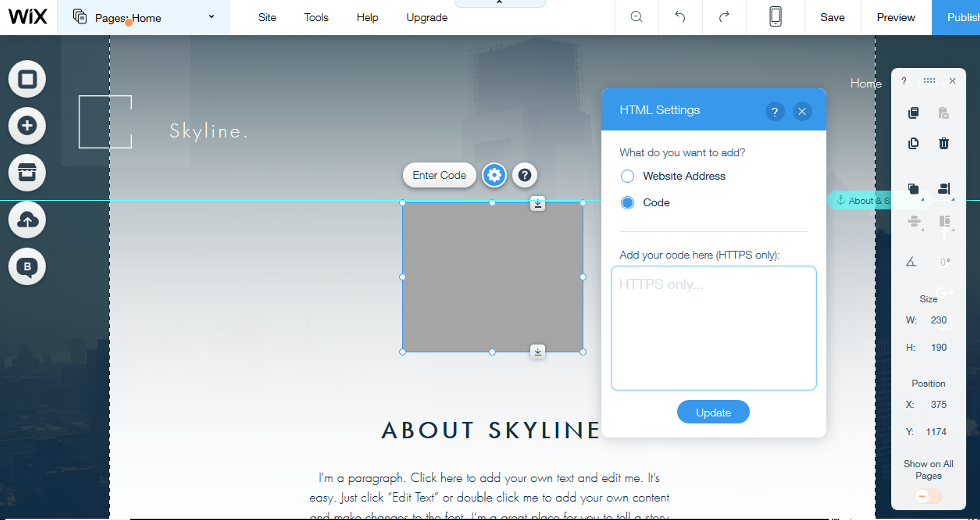
By double clicking on the field you will be able to add HTML code to your WIX webpage. Make sure you have the Code radio button selected.
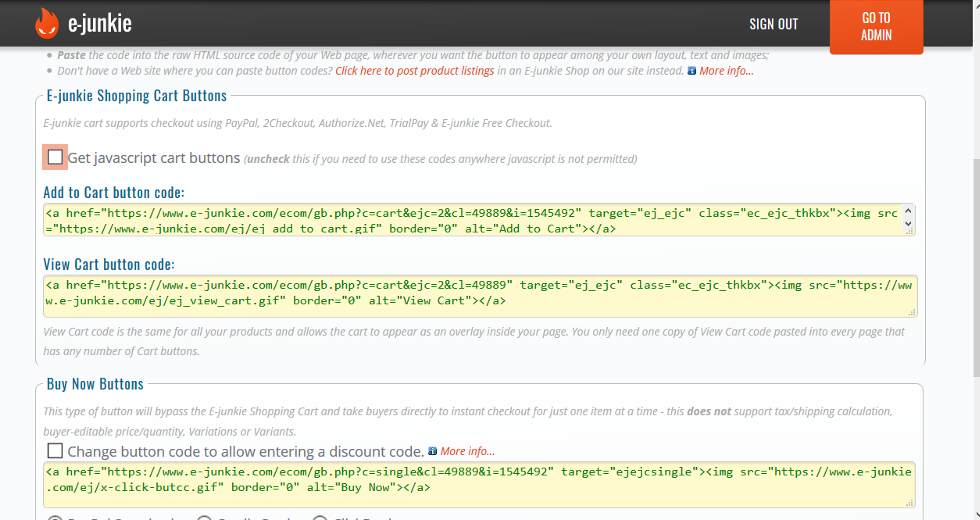
In your E-junkie account, click on the Get Cart/Buy Now Button Codes option on the Seller Admin page.

Once the page loads, use the drop down menu to select the product you want to code for and then scroll down to see get the code. You will need to remove the checkmark in the box for Get Javasript Cart Buttons, as our Javascript will not work with WIX’s coding.
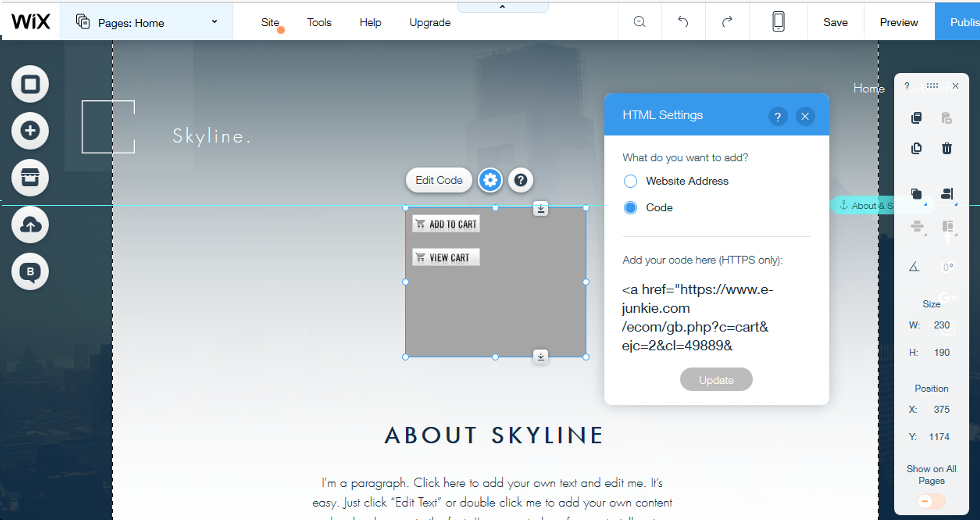
Copy the code you want from the fields and paste them into the field in WIX. One you hit Update, you will see the buttons on the page.
This is just the most basic way to add the button codes in. You can customize the buttons if you want to change their appearance, and the rest of the site will be WYSIWYG, What You See Is What You Get, drag and drop web-building.
Do you have any questions about how to use E-junkie? If so, you can email our support staff here at any time and they will be happy to assist you.
If you have not used WIX, the first things you will need to do is sign-up, choose the style of website you want, then select WIX Editor and finally pick your template. (I went with the basic Coming Soon option in the Business section)
Next you will want to click the Add (+) button on the left side of the page. Go down to the More option and choose the HTML & Flash option.
This will give you a small field at the top center, but you can move the field anywhere you want on the page, allowing you to place the E-junkie buttons wherever you want on the page. Since the template I selected is kind of busy at the top (most of them seem to be), I moved the field down to the middle of the page so it can be seen a bit easier.
By double clicking on the field you will be able to add HTML code to your WIX webpage. Make sure you have the Code radio button selected.
In your E-junkie account, click on the Get Cart/Buy Now Button Codes option on the Seller Admin page.
Once the page loads, use the drop down menu to select the product you want to code for and then scroll down to see get the code. You will need to remove the checkmark in the box for Get Javasript Cart Buttons, as our Javascript will not work with WIX’s coding.
Copy the code you want from the fields and paste them into the field in WIX. One you hit Update, you will see the buttons on the page.
This is just the most basic way to add the button codes in. You can customize the buttons if you want to change their appearance, and the rest of the site will be WYSIWYG, What You See Is What You Get, drag and drop web-building.
Do you have any questions about how to use E-junkie? If so, you can email our support staff here at any time and they will be happy to assist you.