How to integrate E-junkie with Constant Contact
NOTE: In order to comply with EU GDPR requirements, buyers can only be subscribed to an email list if they deliberatley choose to opt-in; see the section About Subscription Opt-ins here for further details.
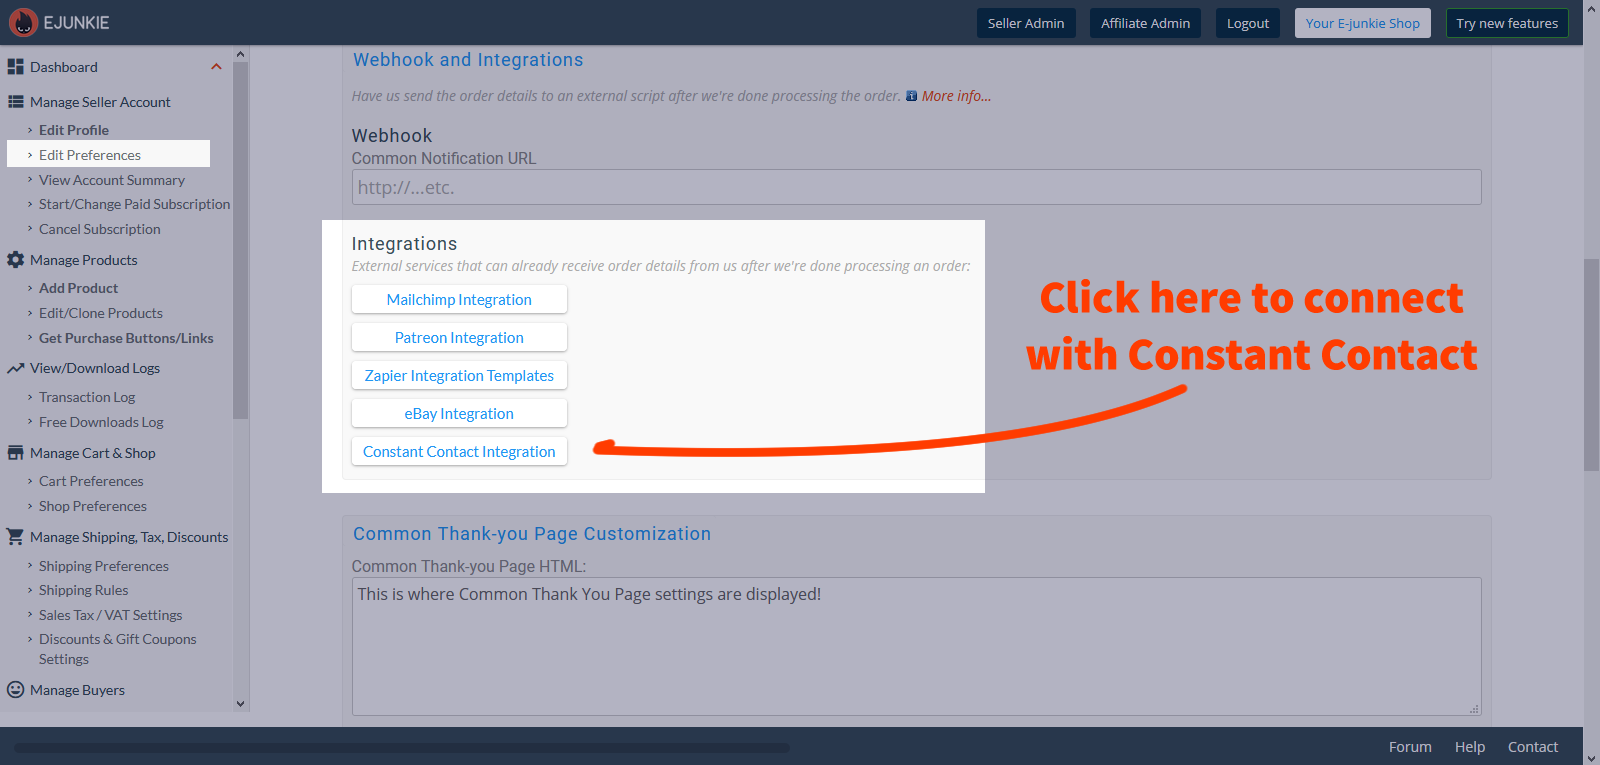
Follow these steps to set up Constant Contact integration:
- In your E-junkie Dashboard, go to Manage Seller Account > Edit Preferences;
- In the integration window click the words Connect with Constant Contact to visit their site;
- Log into your Constant Contact account (or create one if you haven't already);
- Give permission for E-junkie to connect to your Constant Contact account;
- You'll be returned to your E-junkie account after connecting;
- The names of your existing email lists will be available in our system to connect to individual products or set as an account-wide default list.
Use one general list for your whole account, or assign lists to individual products
Your existing Constant Contact email list IDs will be imported into our system once you have connected.
To assign one default list for your whole account:
Return to the Edit Preferences screen and click the Integration button for Constant Contact again. Select the list you wish to use in the Default List menu and click the green Save button. There's no need to look up any special list IDs, all of your lists are available in the menu to be selected by name. Selecting a default list is required to set up the integration, but you can set up a dummy list for this if you won't need to use it.
To override your default list on a specific product:
Edit the relevant product in your E-junkie Dashboard. There is a special product button for Constant Contact available in the Integrations section of the View/Edit Product screen. Select the list you wish to chose in the List ID menu and click the green Save button.